Truxton Extreme Weapon Tier List
Ranked primary weapons for Story clears, Arcade marathons, Arena score, and Team co-op — updated for launch week.
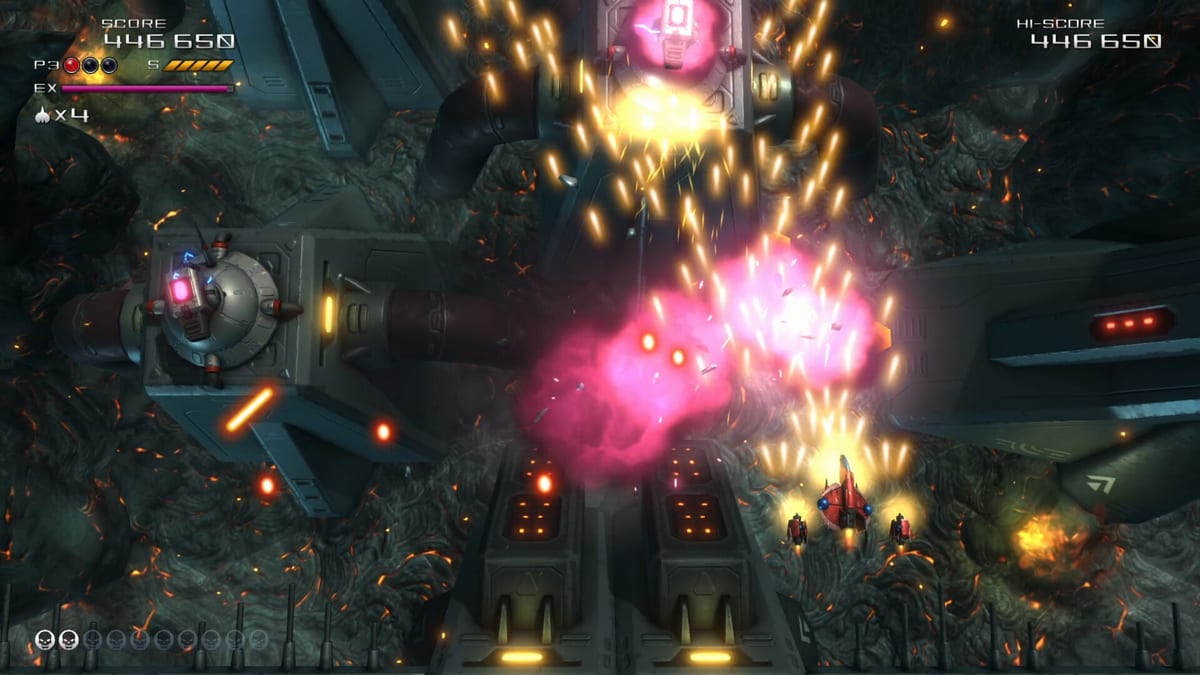
This tier list ranks Truxton Extreme primary weapons for practical clears and score, not theoretical damage on a stationary dummy. Tatsujin’s vertical 3D stages mix wide formations, bullet curtains, and boss parts that punish greedy positioning. A weapon that tops Story comfort may sit mid-tier in Arena where popcorn density and the two-minute timer dominate routing decisions.
Tiers describe relative strength within the game’s six main shot types. Bombs and EX Shot are noted where they change a weapon’s effective tier but are not ranked as primaries. For full mechanics, read the Weapons hub and individual guides linked below.
Tier definitions
S tier — Reliable first pick for the listed context; weaknesses are manageable with basic routing.
A tier — Strong with modest practice; may require better positioning or mode-specific knowledge.
B tier — Viable and sometimes optimal on specific stages, but a weaker default than higher tiers.
C tier — Situational; switch to another pickup when available unless you know the upcoming layout.
Rankings assume you understand controls including manual speed boost, and that you activate EX during peak enemy density rather than holding the meter indefinitely.
Story and Heart Starter
| Tier | Weapon | Why |
|---|---|---|
| S | Power Shot | Wide forward and side coverage forgives imperfect aim while you learn patterns in Heart Starter and Story episodes. |
| S | Homing Shot | Tracking bullets clean side spawns so you can focus on dodging; excellent when manga episode pacing introduces new enemy types. |
| A | Thunder Laser | Lock-on sustained damage simplifies mid-boss phases once you understand line-of-sight rules. |
| A | Tatsujin Beam | High forward power speeds stage clock, but narrow coverage punishes beginners who drift off-center. |
| B | Star-Mine Shot | Strong on clustered waves; weaker when enemies arrive in thin lines with long gaps between detonations. |
Story mode rewards consistency over peak DPS. If you are unlocking episodes across Ash, Bergamot, and Cyrilla, pick a weapon you can hold for entire stages without panic-switching. Pair S-tier primaries with disciplined Bomb use — one well-timed clear beats repeated sloppy pickups.
Arcade and Training
| Tier | Weapon | Why |
|---|---|---|
| S | Tatsujin Beam | Pierce and forward focus excel in continuous stage chains where you learn optimal lines once and repeat them. |
| S | Thunder Laser | Lock-on keeps damage on priority targets while you navigate dense bullet phases common in late Arcade stages. |
| A | Power Shot | Still excellent for mixed-angle waves; slightly behind beam/laser on pure boss burn if you already know safe spots. |
| A | Homing Shot | Reliable all-rounder when formations split; may lose time on single-target boss legs compared to beam. |
| B | Star-Mine Shot | Spikes on stages with tight enemy packs; plan switches at known cluster spawn points. |
Training mode is the fairest place to test whether your Arcade tier pick matches personal feel. Input lag and speed-boost habits change how lock-on and homing behave on your setup — trust stage results over list rank alone.
Arena score attack
| Tier | Weapon | Why |
|---|---|---|
| S | Homing Shot | Tracks scattered targets during the timed rush, reducing movement tax while the clock drains. |
| S | Power Shot | Wide coverage clears multiple lanes simultaneously — critical when enemy volume spikes inside two minutes. |
| A | Star-Mine Shot | Explosion radius boosts chain score on packed waves if you route detonations through center mass. |
| A | Thunder Laser | Strong when a single high-value cluster stays on screen long enough to maintain lock. |
| B | Tatsujin Beam | Boss-style precision helps less when targets spread across the full playfield under time pressure. |
Arena tier shifts fastest with patch-style balance or personal routing discoveries. Use the weapon picker tool to log your best Arena primary before chasing leaderboard replays.
Team co-op
| Tier | Weapon | Why |
|---|---|---|
| S | Power Shot + Homing Shot combo | One wide, one tracking loadout covers more space than duplicate picks; see How to play co-op. |
| A | Thunder Laser | Lock-on helps one player focus boss parts while the partner handles adds. |
| A | Tatsujin Beam | High single-target damage when roles are split deliberately. |
| B | Dual Star-Mine | Explosion overlap can clear screens but also obscures partner sightlines — communicate before detonation chains. |
Shared bombs elevate Bomb tier indirectly: a co-op team that reserves one bomb for partner rescue outvalues a solo player who spends bombs purely for score. Coordinate in Team mode before adopting aggressive Star-Mine or beam lines that steal center screen.
EX Shot and Bomb — support tier notes
EX Shot is not a primary weapon but changes effective tiers. Tatsujin Beam and Thunder Laser gain more from EX windows that align with boss vulnerability phases, while Homing Shot benefits during full-screen popcorn invasions. Read EX Shot for meter fill rates and How to Play for when to fire versus hold.
Bombs sit outside primary tiers yet function as S-tier safety in any mode when used for bullet cancel at clutch moments. Wasting bombs early drops your effective survivability below any B-tier primary.
How to use this list
Start with the column matching your current goal — Story learning, Arcade marathon, Arena timer, or co-op — then drill into the linked weapon page for matchup detail. Revisit after you unlock Training and can loop individual bosses; personal tier lists often diverge once speed boost muscle memory stabilizes.
If a weapon sits in B or C for your mode but you enjoy its feel, keep practicing in Heart Starter. Truxton history rewards mastery of non-meta picks on specific stages. This list is a routing shortcut, not a rulebook.
Frequently Asked Questions
Quick answers to the most common questions.
What is the best overall weapon in Truxton Extreme?
There is no single best weapon for every context. Power Shot and Homing Shot lead for general Story learning; Tatsujin Beam and Thunder Laser excel in focused Arcade boss damage; Homing and Power Shot lead most Arena timetables.
Why is Star-Mine Shot ranked lower than Power Shot?
Star-Mine detonations reward clustered enemies and deliberate spacing. On stages with thin formations or long gaps, explosions miss value while wide or lock-on weapons stay consistently productive.
Does tier list order change in co-op?
Yes. Complementary pairs — wide plus homing — often outperform two identical S-tier solo picks because shared screen coverage matters more than duplicate strengths.
Should beginners follow this list strictly?
Use S-tier Story picks like Power Shot or Homing while learning controls and How to Play. Move to beam or laser tiers when you can reach mid-stage without panic-switching weapons.
Where can I get a personalized weapon recommendation?
Open the weapon picker tool and select your mode and experience level. It summarizes this tier list with links to full weapon guides.